
Shade trees do a lot of heavy lifting in our landscapes—cooling homes, boosting curb appeal, and adding long-term value. But during dry stretches, trees can quietly slip into stress. Trees constantly lose water to the atmosphere, and water is one of the most limiting resources for tree survival and growth; drought can trigger decline, pest issues, and damage that’s hard (or impossible) to reverse.
What “water stress” looks like
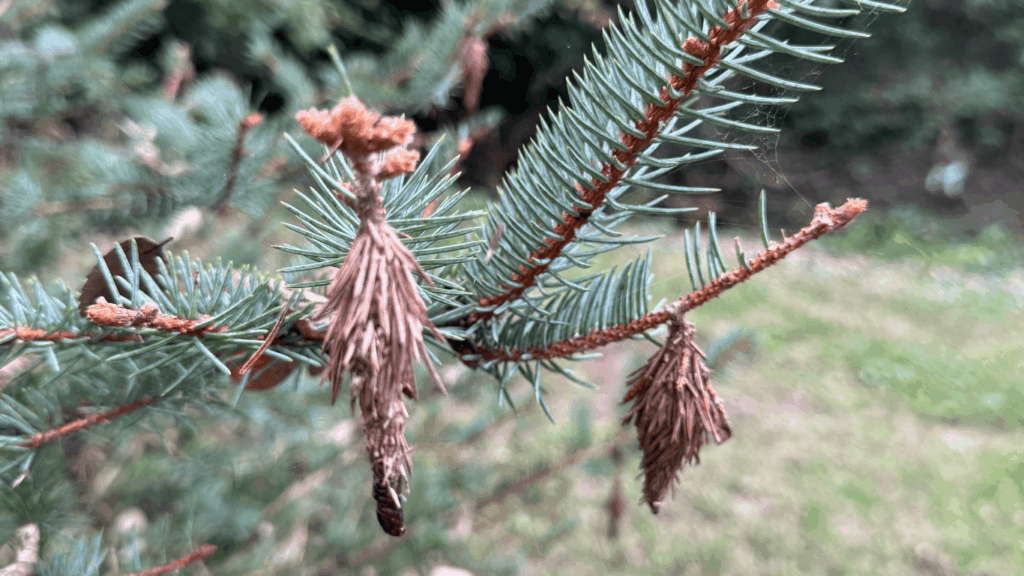
Most healthy trees can ride out moderate dry periods, but long gaps without rain—especially in summer—create problems when a tree loses moisture through its leaves faster than it can replace it. Wind can speed this up by increasing moisture loss.
Common symptoms include leaf droop followed by drying leaves. Water stress doesn’t always kill a tree outright, but it can weaken it and make it more vulnerable to insects and disease.
Why watering a tree isn’t like watering grass
A few quick facts help explain why trees need slow, intentional watering:
- Living plants are mostly water (up to 90%), and trees move a huge amount through their system.
- Around 99% of water absorbed by roots is lost from leaves through transpiration.
- A mature tree can lose hundreds of gallons of moisture in a day.
The goal is to replace what the tree is losing—without flooding the soil.
The best way to water shade trees
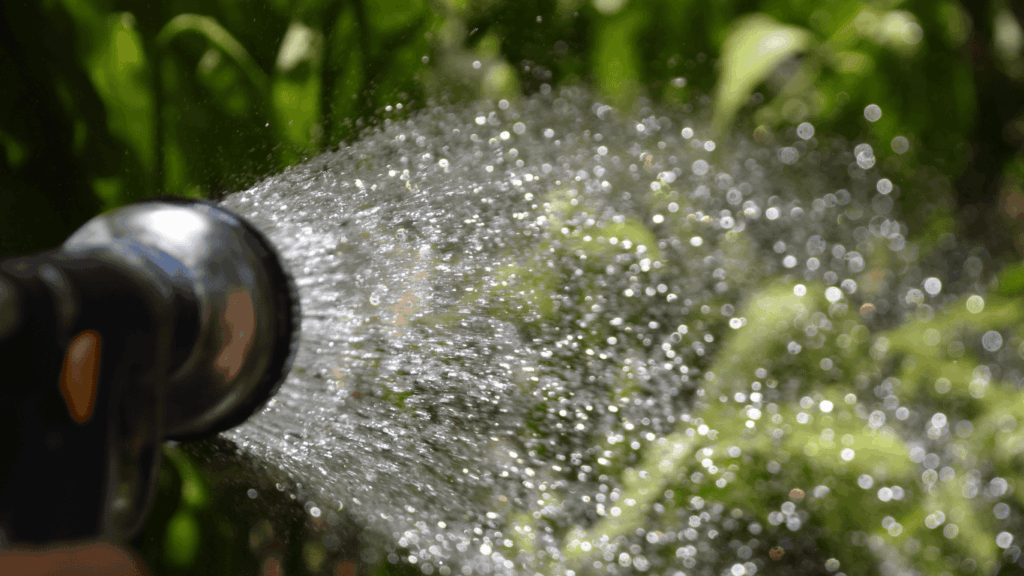
For established landscape trees, soaker hoses or drip/trickle irrigation are the most efficient methods. Sprinklers can work (they’re just less efficient), and even a garden hose moved often can provide a good soak.
A key detail: water the soil beneath the canopy, not the canopy itself. Wet foliage can lead to sunscald or fungal leaf issues.
Also, skip “deep injection” watering (sticking a pipe/wand 12–24 inches down). Most absorbing roots are in the top foot of soil, so pushing water deeper often misses active roots and drains away. Surface soaking gives roots more chances to absorb water and supports healthier soil.
How much water is enough?
If you can roughly duplicate a rainfall of about 2 inches per week, that’s a strong target during dry conditions.
The guide recommends watering so the soil is wetted 2 to 3 feet deep when nature doesn’t provide a full soaking—apply water slowly so it penetrates instead of running off.
Easy measuring trick: place small containers under the canopy while watering. When the average depth in the containers reaches 2 inches, you’re done for that tree.
You can also probe the soil afterward (about 6–8 inches deep) to confirm it’s saturated at that depth.
When to water (timing matters)
The best time to water is at night (10 p.m. to 8 a.m.) because trees refill water deficits overnight and evaporation is lower—more water goes into the soil and tree.
Next best is late afternoon when foliage is dry and the day’s evaporation peak has passed.
Newly planted trees need extra attention
Newly planted trees are most susceptible to water stress because they’ve lost part of their root system during digging. Focus watering on the basal root system and check moisture with a soil probe.
Plan to water newly planted trees each summer for three years after planting to help them establish.
Don’t forget evergreens in winter
Evergreens still lose water during the dormant season and should be watered during winter droughts. Because humidity is often higher and temps are lower, they need less water than summer—but they still need moisture.
One important rule: don’t water when the soil surface is below 40°F.
Can you overwater trees?
Yes—especially in heavy clay soils common in Missouri. Clay has limited pore space, so oversaturating it can push out oxygen and suffocate roots. Well-established trees are less likely to be affected, but newly planted trees should be monitored by probing soil 6–8 inches deep.
That said, research cited in the guide notes more trees are lost to dryness than to overwatering—so aim for “moist, not soggy.”
Quick checklist: Watering your shade trees the smart way
- Water the soil under the canopy, not the leaves.
- Use soaker/drip when possible; go slow for deep soaking.
- Target the equivalent of ~2 inches of rain when conditions are dry.
- Water overnight for best efficiency.
- Baby new trees for 3 summers after planting.
- In winter droughts, water evergreens—but not when soil is under 40°F.


